Based on a recent question from a customer, we decided to outline the steps to make sure you automate the ability to track cost of goods sold with Poshmark.
The first step is to create a unique SKU (short for “stock keeping unit”) for each item you list. Next, record the SKU and purchase price (and any other inbounds costs) of that item in Seller Ledger. Finally, when listing your item for sale on Poshmark, make sure to include the unique SKU value in the listing. Doing this is not obvious, as the field is considered “optional” and not exposed by default.
Adding SKU value to your Poshmark listing
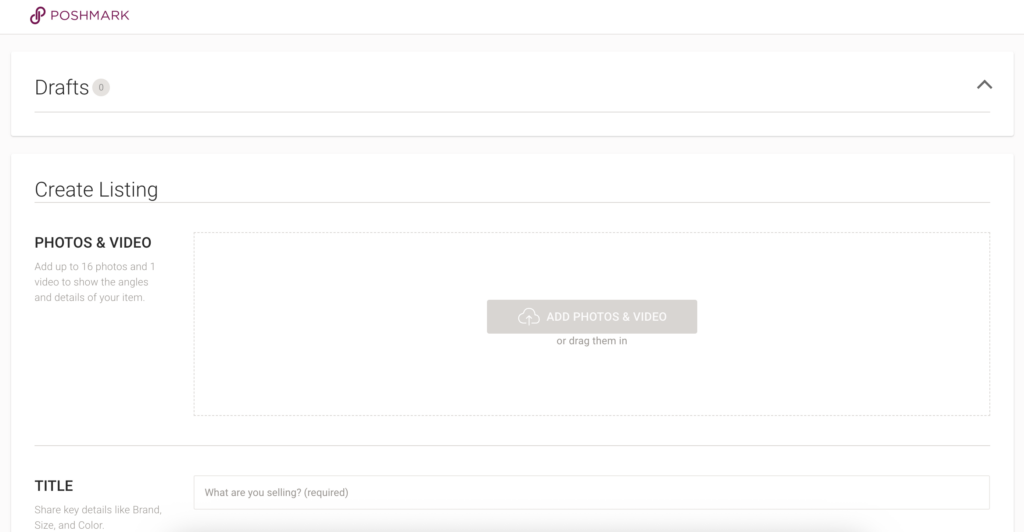
When you go to create a new listing at Poshmark, you will see a screen that begins like the following:
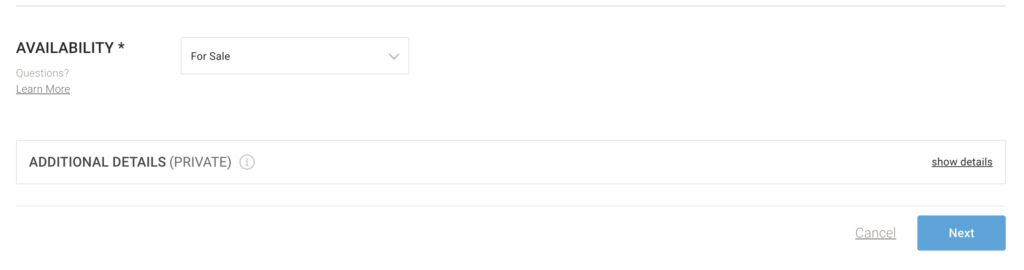
Scroll down to the bottom and you’ll see a private section called “Additional Details.”
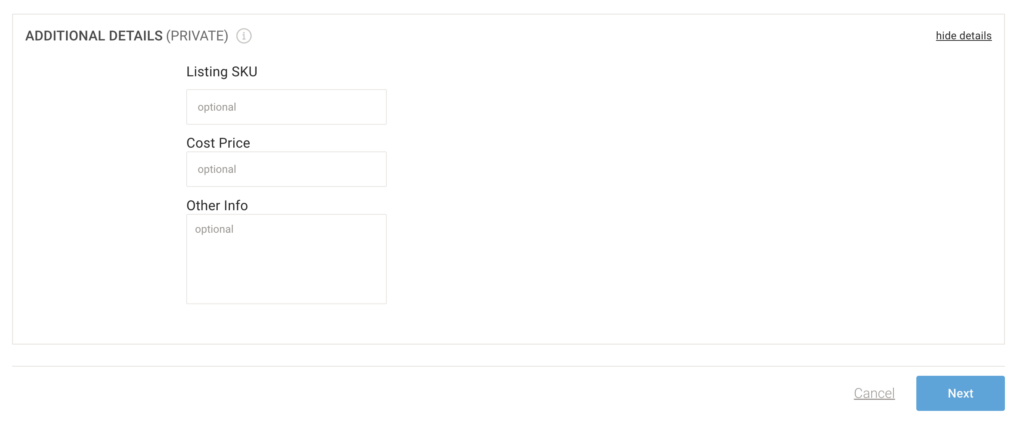
In order to add a SKU to your listing, you’ll need to open the “Additional details” section by clicking “show details” on the far right. That expands the section to reveal a field for SKU:
Note – there is also a “Cost Price” field in there, but it’s not necessary (nor recommended) to record your costs there, as Seller Ledger should already have the cost information for that item in its records.
That’s it?
Yes, that’s it. What happens form here is that, when your item sells on Poshmark and Seller Ledger imports that sales information into our software, we look for the SKU value and automatically match it to what we show in your Seller Ledger inventory. Once we do that, we reduce the amount of your and automatically update your cost of goods sold expense amount. There is no additional record keeping or analysis that you need to do.
One of the most common complaints we see among small eCommerce sellers is that eBay fees are too high. As are fees at Amazon, Etsy, Poshmark and other eCommerce marketplaces. This becomes especially common whenever new fee increases are announced.
While price increases often produce an emotional response (we are only human, after all – at least until AI starts writing these blog posts,) we thought it might be helpful to provide some context on marketplace fees and how you can evaluate them rationally (and analytically.)
What do marketplace fees get you?
To start, it might help to remember some of what you get from your online marketplace seller fees. For the sake of this article, we’ll use the example of selling on eBay versus selling on your own website.
1. A full-stack eCommerce platform on which to sell
What do I mean by “full stack”? Well, I mean everything that you would need to sign up for, configure and pay for yourself to start selling online through your own web storefront. For example, if you want to set up your own eCommerce storefront, you’d need to arrange (and pay for) the following:
A domain name. It’s the equivalent of a street address on the internet.
A hosting account which can handle the internet requests to visit and purchase from your online storefront. Oh, and you will likely want it to be secure, so you’ll want an SSL (secure socket layer) certificate.
Software to run your storefront. Your options here run anywhere from coding it yourself to using existing platforms like Woo Commerce or Shopify, which run from free to sizable monthly subscriptions.
A payment service, like Stripe or PayPal, to let you accept payments from your customers.
Online marketplaces provide all of the above for you. In additional to thinking about the cost savings with each item above, it might also help to think about the time savings of all the things you don’t have to spend figuring out, setting up, and, especially, fixing when they break. There is a very high probability that the large marketplaces have more reliable systems than what you might cobble together.
2. Marketing
This is the big one, and it’s not even close. The #1 thing you get from listing items for sale on a marketplace is traffic. Finding customers is one of the hardest things to do in business, let alone in an eCommerce business. Online marketplaces have done the heavy lifting to build large brands with huge numbers of customers who visit them every day. You benefit from that, though you do need to compete for attention among all other sellers on a marketplace.
To better understand why we focus on “marketing” so much, just imagine what you would try to do if you launched your own website. Let’s say you have a brand new eCommerce website, it’s live, it’s beautiful, it works perfectly and has amazing, unique, incredibly valuable items for sale at extremely reasonable prices.
How do you get people to visit your store?
If you google “how to drive traffic to your ecommerce website”, you will find a TON of content offering all kinds of advice (as well as some “experts” willing to help you, for a fee.) And you can compare that to what Shopify and Wix suggest. But let’s discuss a few of the common techniques you’ll likely find.
Word of mouth
Likely the very first thing to try is to reach out to your entire network of friends, family and professional colleagues. Ask them for help, ask them for advice, and of course, ask them to tell everyone they know about your amazing new web storefront.
Search engine optimization
In the brick and mortar world, you can choose a location with good foot traffic, though the rents will likely be higher. On the internet, there really isn’t a lot of foot traffic. The closest equivalent is search traffic, so you’ll want to make sure your website is optimized for key search terms. Of course, you’ll need to do this better than your competitors in order to get a high enough ranking. And some of those competitors are the very same online marketplaces, who’ve spent years developing expertise and credibility so that they can drive traffic to their customers’ listings.
Paid advertising
In the brick and mortar world, we used to be able to advertise in the Yellow Pages, but that’s been replaced by the online world. You can advertise on search engines like Google, as well as social media sites like Facebook and Instagram. You could sponsor podcasts from influencers who talk about products like the ones you sell. There are a lot of options out there that can help you reach your target customer, but it’s critical that you test and measure your ad campaigns on each of them, to be able to know whether you are making enough money to justify the continued investment.
eMail marketing
Even though it’s been around for a long time, email continues to be a very effective tool for communicating with customers. But in order for this to work, you need to get people to give your their email address, which requires a whole other step of finding prospective customers and giving them enough of a reason to give you their email address. This leads us to the next concept.
Content marketing
One of the most common techniques you’ll see to help drive traffic to your website is a more indirect method that is sometimes called “content” marketing. This means creating a bunch of content (or paying someone else to do it,) that is related to what you’re selling, but different enough that it can attract people who are not explicitly seeking out a specific item. Writing blog posts, sending newsletters, creating videos or reels on YouTube, Instagram and Tiktok, these are all examples of content marketing.
Social media
Perhaps the fastest growing technique for acquiring customers is to build up a presence on social media channels like Instagram, TikTok, Facebook, SnapChat, etc. Social media platforms make it much easier for you to build lightweight relationships with “followers” and “connections.” But you still have the challenge of creating interesting enough content to gain those followers. That said, because this is a much newer domain and is rapidly evolving, there may be more opportunity to do something new and unique.
Other ideas
There is no shortage of marketing ideas that you can try for your website. For example, you could create an affiliate program to get influencers to promote your store. Or roll out a customer loyalty program to get your happiest customers to spread the word. When you’re an entrepreneur, everything is worth a try:)
How do I compare the costs of marketplaces vs doing it myself?
While there is no “easy” answer to this, as everyone’s business is different, we have tried to pull together some resources to help you get a better sense of where your costs should fall. So if you are thinking that eBay’s fees are too high, compare that to some of the statistics below.
The CMO Survey from 2021 states that “B2C Product companies spent 18.4% of their revenue on marketing in 2021.”
This blog post from Boldist suggests “The Small Business Association recommends 7-8% of revenue should be spent on marketing, but what we see, in reality, is that ecommerce companies will spend up to 30% of their revenue on Customer Acquisition Costs.”
And if you have time to dig through a LOT of great detail, check out Marketing Sherpa’s 2015 eCommerce Benchmark Study. Notice that most respondents talked about how their customer acquisition costs are expected to go up over time.
Final Thoughts
Every small business owner needs to decide for himself/herself how best to spend their money. But we are big fans of making informed, data driven decisions to help grow your business. Hopefully this article helps provide some context for evaluating the true cost of online marketplace fees and whether your money would be better spent elsewhere.
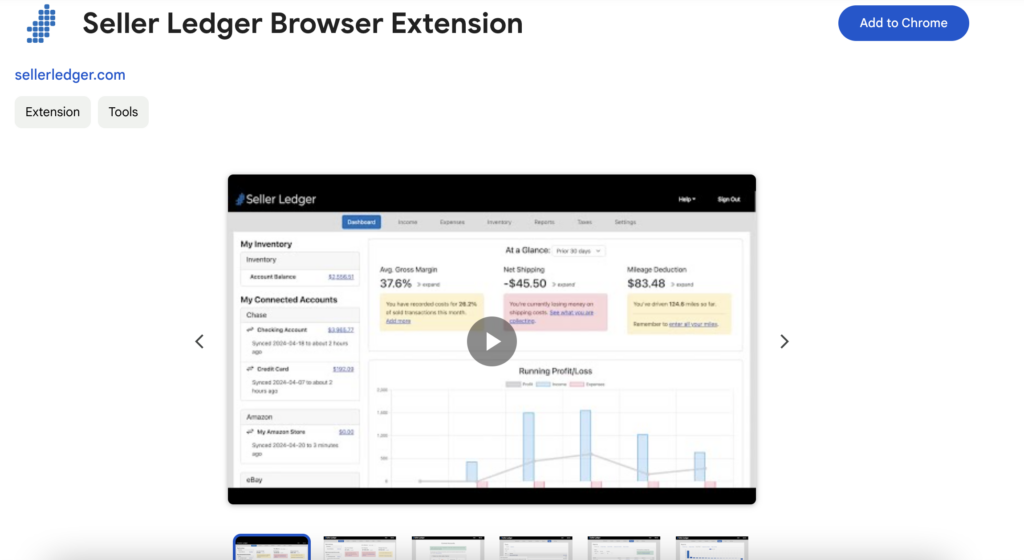
When we first launched our Poshmark integration, the only option was to download sales history reports in CSV file format and upload them to Seller Ledger. While this provides an accurate view of your Poshmark financial performance, it required ongoing effort on your part to keep your finances up to date.
Fortunately, now users have a more automated choice. By using the Chrome browser and Seller Ledger’s custom-built Browser Extension, Poshmark sellers can now see their sales history import into Seller Ledger on a daily basis. Not only that, but we also now import your payout information (which is not included in the downloadable Sales Reports from Poshmark.)
To learn more about how to automate your Poshmark accounting, view this support article.
Today Seller Ledger has launched the ability to import your order and fee information from Poshmark.
Unlike sales channels such as eBay, Etsy and Amazon, Poshmark does not have a public API to which Seller Ledger can automatically connect. But fear not, for they do provide downloadable files (in .csv format) with your sales history. And Seller Ledger’s new import tool makes it super easy to get all of your information from Poshmark into Seller Ledger.
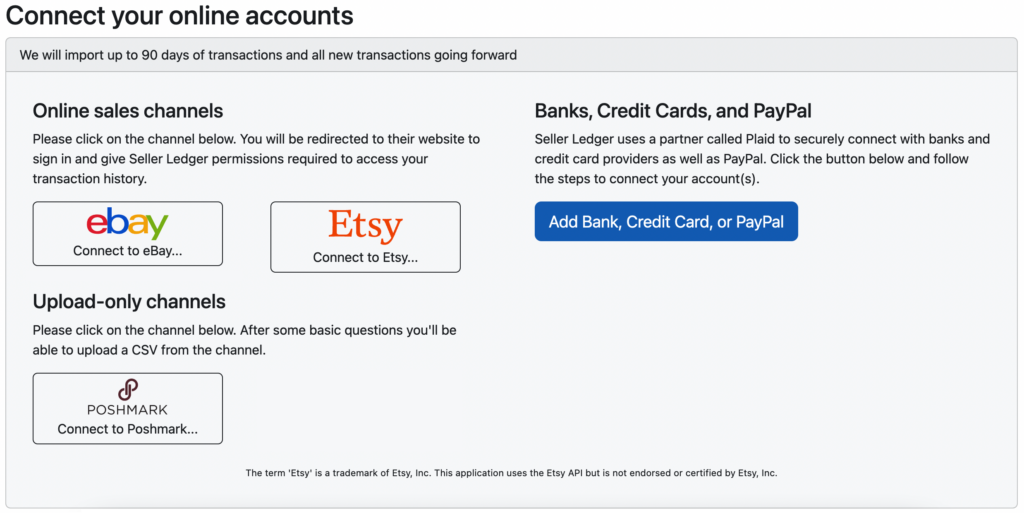
When you click the “Add account” button under Connected Accounts on your dashboard, you will now see an option to “Import Poshmark.”
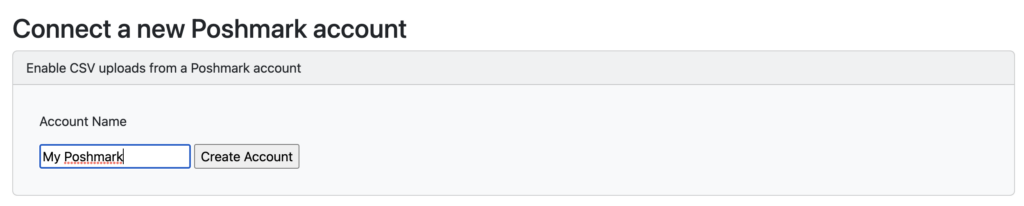
After clicking the Poshmark button, enter a name for your new account and click “Create Account”
Step 3: Upload your Poshmark sales history file
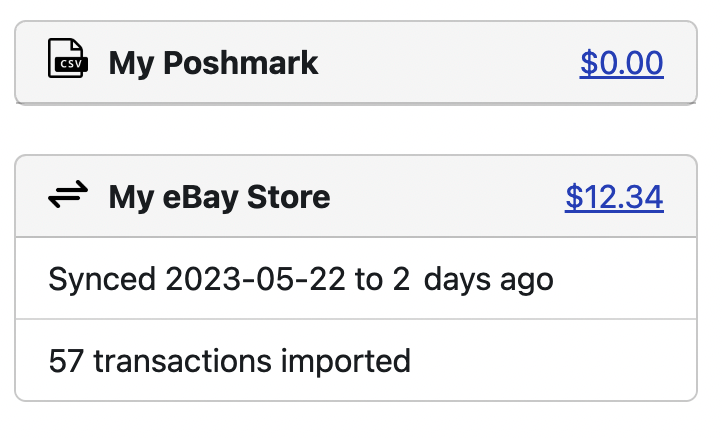
Once you’ve created your new Poshmark account, you’ll see it among your list of connected accounts on the Dashboard. Note the new icons we’ve added to differentiate between accounts that automatically connect and those that require CSV files be uploaded.
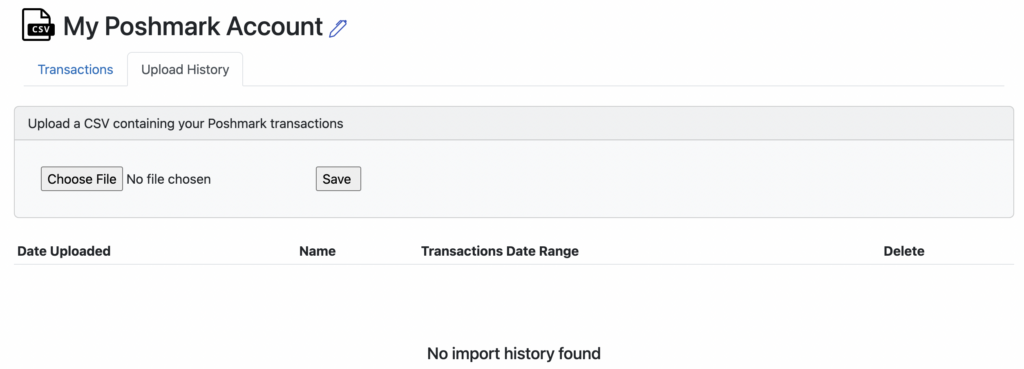
Clicking into the balance shown for your new Poshmark account and click the “Import History” tab. Here you will see the option to upload a CSV file. Choose the file you downloaded from Poshmark and click “Save.” Your file will be uploaded and your transaction history will be imported into Seller Ledger.
Trial users
Step 4: Categorize your Poshmark payouts properly
If you have connected a bank account to Seller Ledger, there’s a good chance your Poshmark payout totals are showing up there. To ensure that nothing is getting double-counted, make sure to categorize those payouts as transfers. Simply scroll to the bottom of the categories list and find your new account.
Step 5: Automate your inventory and cost of goods sold
One of the more powerful things about the Poshmark platform is that they let you enter SKU information for each item you sell. And, if you do so, they provide that information in their sale history file when you download it. This allows Seller Ledger to automatically update your inventory levels, calculate cost of goods sold, and per-item profit as soon as you upload your file. Not familiar with how this all works? Check out our video on inventory management through Seller Ledger.
Wrapping up
While a bit more effort than our fully connected accounts, uploading CSV transaction history doesn’t take a lot of additional effort and provides the vast majority of the benefits that are available through Seller Ledger. Just make sure to come back every once in a while to upload your latest sales history.
Plus, if you make a mistake with any of your uploaded information, it’s not a problem. The “Import History” tab shows you all of the files you’ve uploaded over time, with the ability to simply delete one or more and try again.
Poshmark is just the first sales channel for whom we’ve built CSV-based functionality. But it’s pretty easy to extend to other channels (like Mercari, which is coming soon.) If you would like to see other channels supported, please email us at [email protected] with your interest and, if you’d like to be particularly helpful, a sample of a transaction history file from that channel.