Attach receipts to your transactions
To help eCommerce sellers stay more organized, we are pleased to announce that Seller Ledger now supports the ability to attach receipts to transactions. And we do it in a couple of ways.

Start with just your receipt
Do you have a cash purchase that you need to put into Seller Ledger? Take a picture of the receipt and upload it first. Seller Ledger, using some AI magic, will try to parse the image. We also support other file formats.
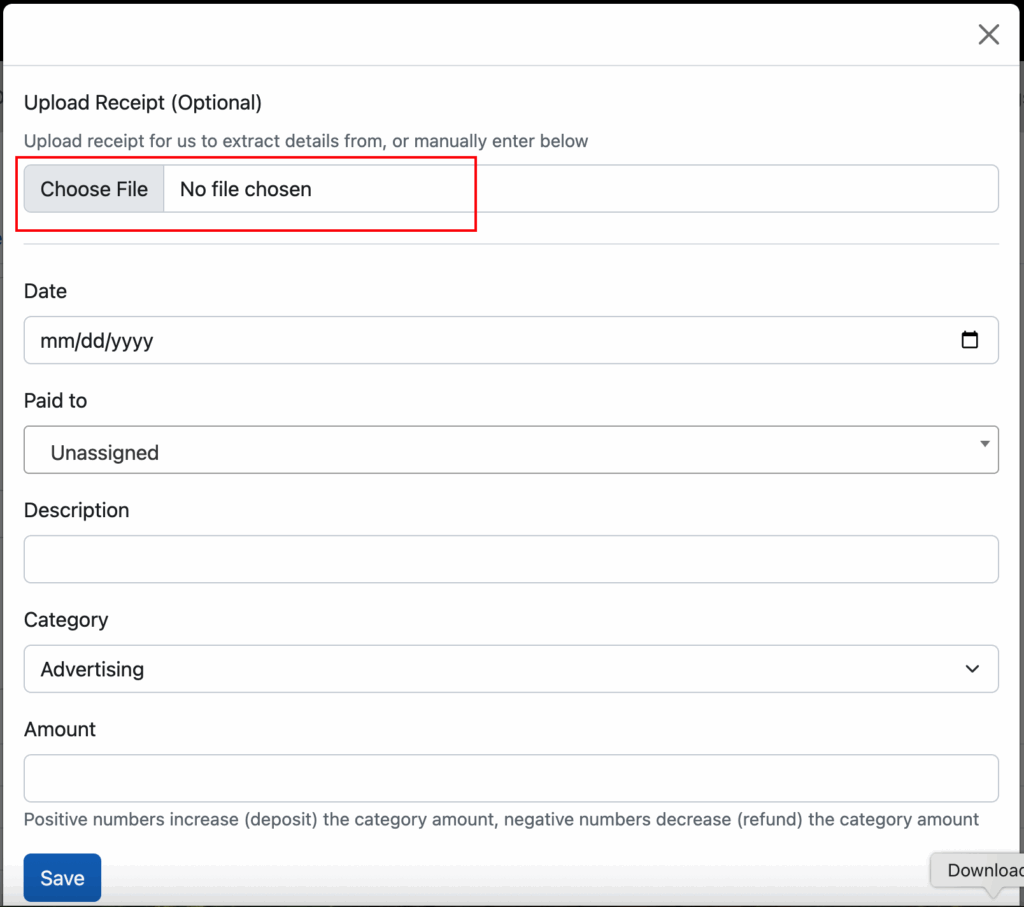
In this example, go to the Expenses tab and click the “Add Expense” button:

Then, click the option to “Choose File” and select the receipt file from your hard drive.
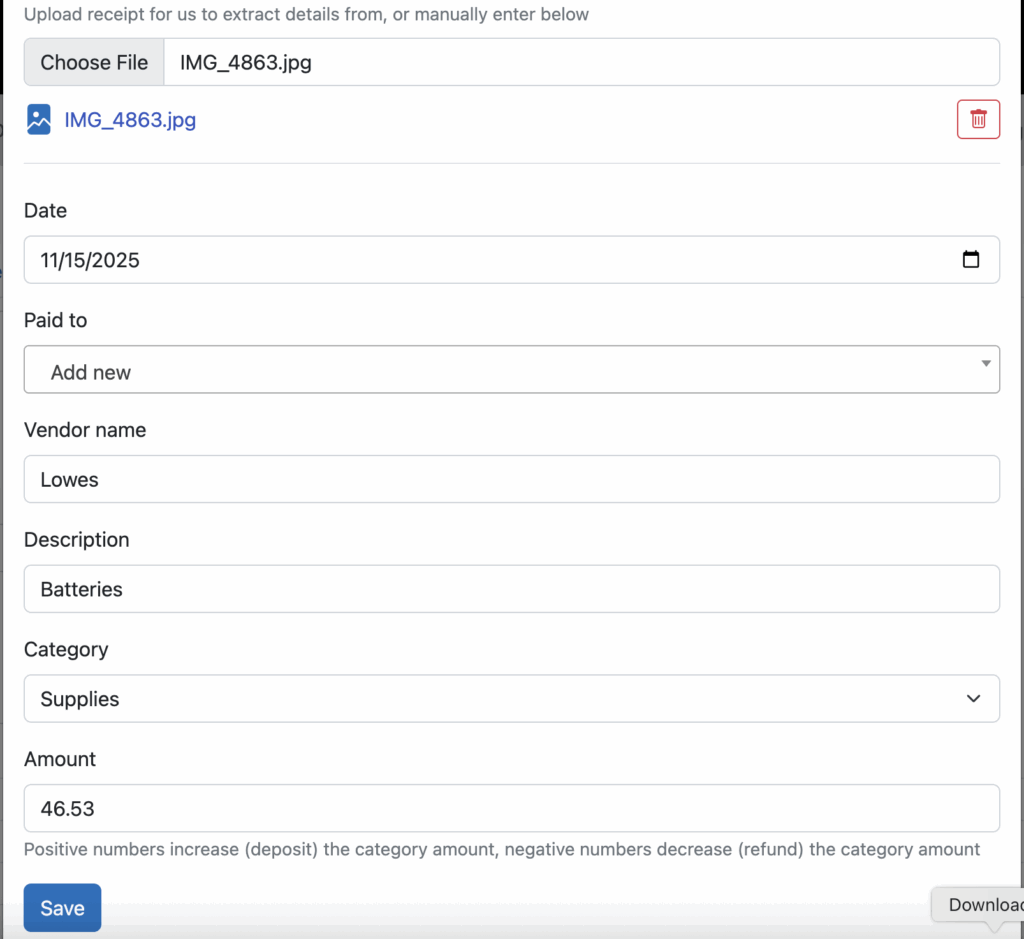
After choosing the file, Seller Ledger will extract as much information as possible and pre-populate the fields below. In this case, it got the date and amount correct, but I had to edit the Vendor and Description.
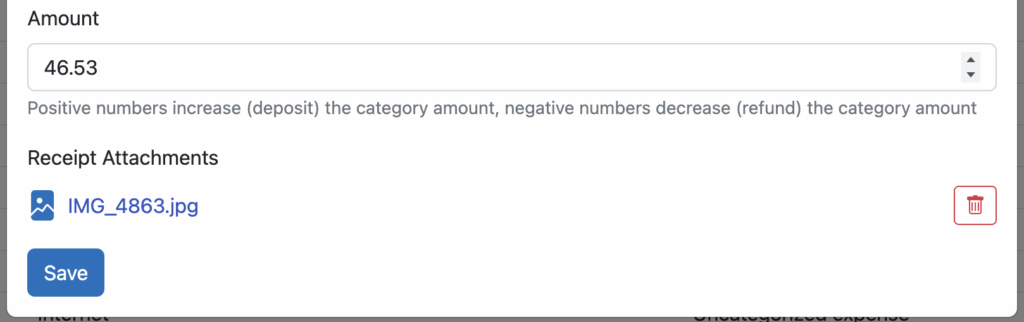
Click the save button and your new expense is recorded, with a copy of the receipt that you can view at any time by clicking on it.
Attach a receipt to an existing transaction
You can also upload a receipt to an existing transaction that has been imported into Seller Ledger. Just click into your bank or credit card account and you’ll see a new paperclip icon to the far right of the transaction.
Clicking the paperclip icon pops up a simple dialog box:
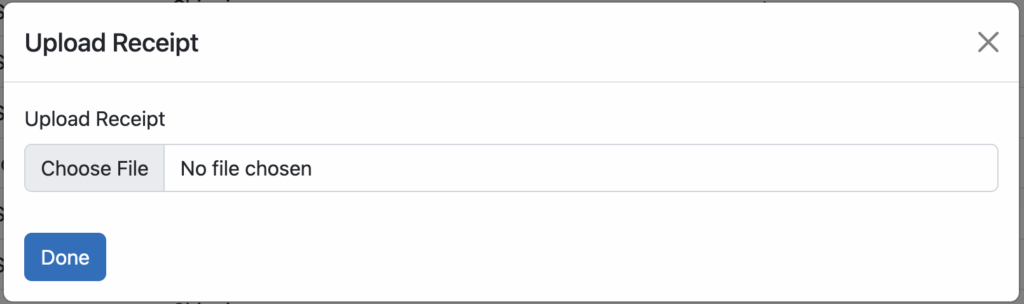
Find the image or file of your receipt and click Done. In your transaction list, you will now see the icon has changed to a small receipt, which you can click on to preview the file you just uploaded.
As always, we want to thank all of the customers who wrote in suggesting this feature. Keep ’em coming!