Track Bills in Seller Ledger
As we recently announced with improved support for invoice tracking, we are also announcing similar improvements to tracking bills (a.k.a. money you owe to other people).
For those sellers that may pay vendors on Net 30 terms, or for consignment sellers, this new functionality should come in pretty handy.
Tracking bills
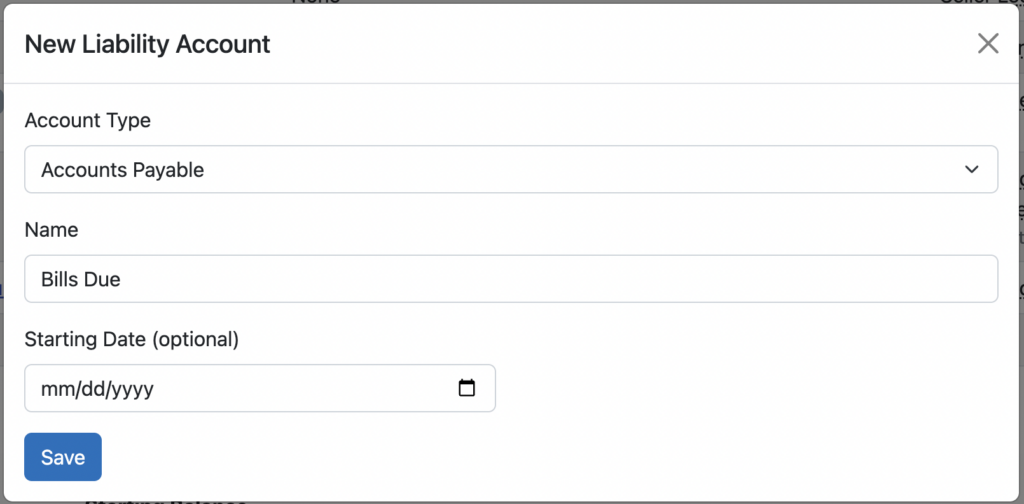
The first thing you need to do is to create a new account to track your bills. In accounting parlance, these are “accounts payable.” Again, go to Settings -> Accounts (or click on the “Manage accounts” link in the lower left part of your Seller Ledger dashboard). Scroll down the page to the Liabilities section and click the “Add Liability Account” button:

Next, choose the account type “Accounts Payable”, name your account, set an optional start date and opening balance, and you’re ready to start tracking bills.
Once you have created an account for tracking bills due, click into it from your Seller Ledger dashboard to see options for recording bills and payments.
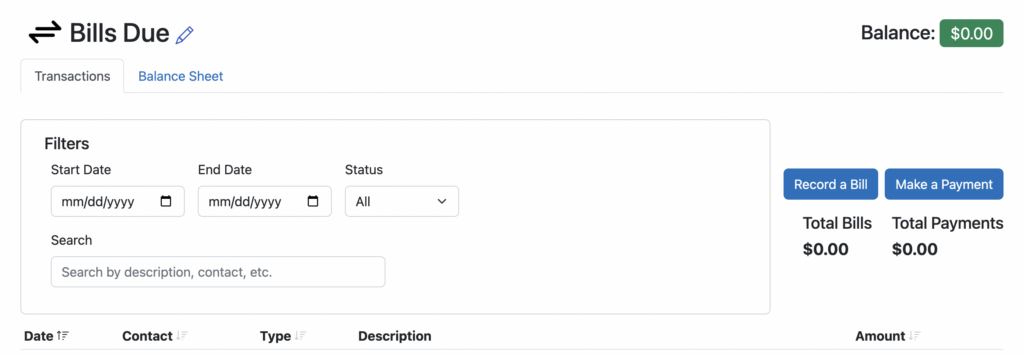
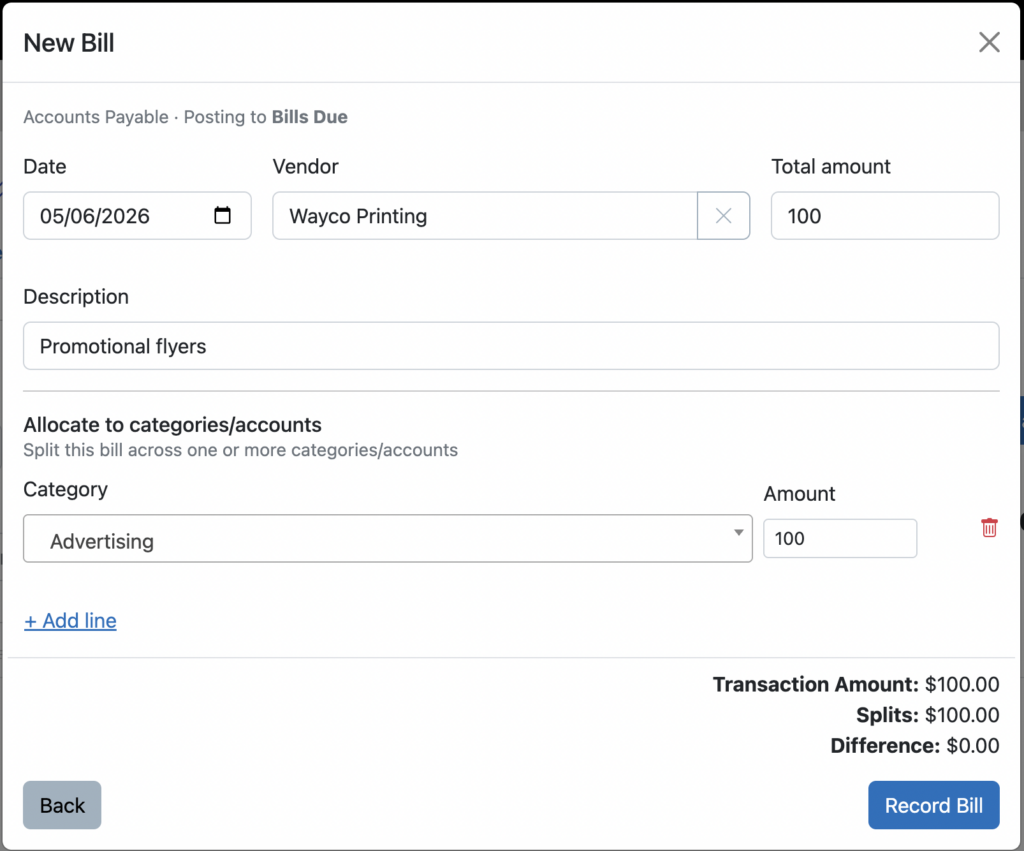
Click the button to Record a Bill, fill out the details and click save.
Record payment of a bill
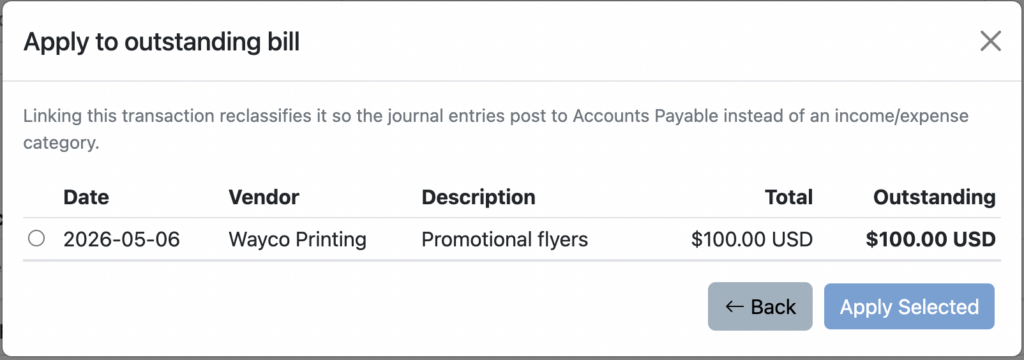
Very similar to how it works with Invoices, you have a couple of different ways to record payment of a bill. From within your linked bank account (or credit card,) you can categorize the payment amount as “Transfer: Bills Due”. When you do, you’ll see an extra button pop up to “Apply to Outstanding Bill”.
If you click that button, you’ll be shown any outstanding bills to which you can apply that payment.
If you don’t have your payment account linked to Seller Ledger, you can always click back into the Bills Due account, click the “Make a payment” button and record it that way.
Ready to automate your eCommerce bookkeeping?
Join thousands of sellers who save hours every month with Seller Ledger.
No credit card required