Import Mercari Sales Report into Seller Ledger
We are pleased to announce that Mercari sellers can now import their sales report into Seller Ledger.
Like Poshmark, Mercari does not provide a public API, so we can’t automatically grab your transaction history like we can with Amazon, eBay and Etsy. But, just as we do with Poshmark, we allow you to upload the Mercari sales report.

Step 1: Download your Mercari sales history
In your Mercari account, navigate to the Seller dashboard (under your profile image). From there, click on “Sales report.” You will be asked for both a beginning and end date for your transaction report. Once you have selected the date range, click the “Generate report” button.
You should see a .csv file generated, with a name that begins with “Custom-sales-report” and ends with the date range you selected. Download that file to your computer.
Step 2: Add a Mercari account in Seller Ledger
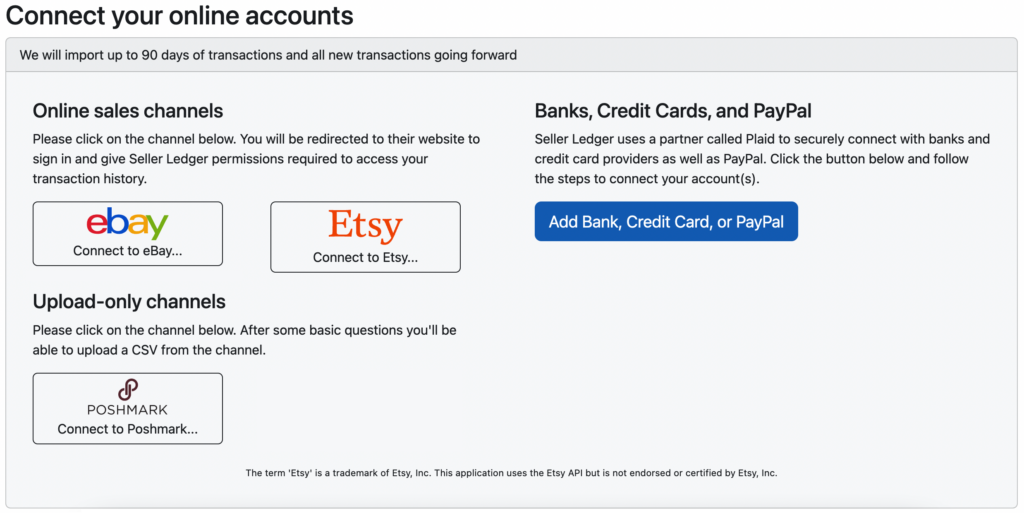
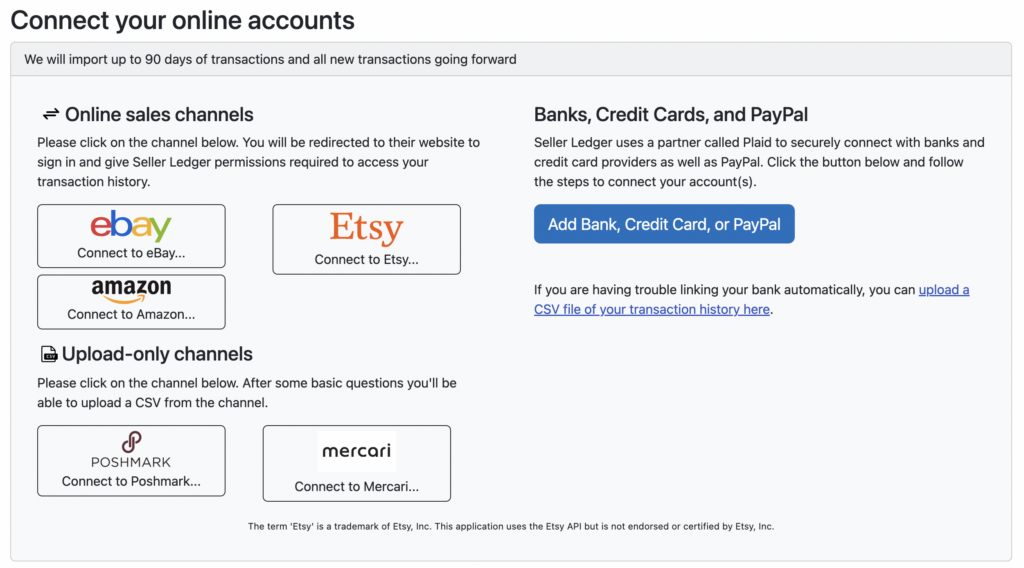
When you click the “Add account” button under Connected Accounts on your Seller Ledger dashboard, you will now see an option to “Connect to Mercari.”
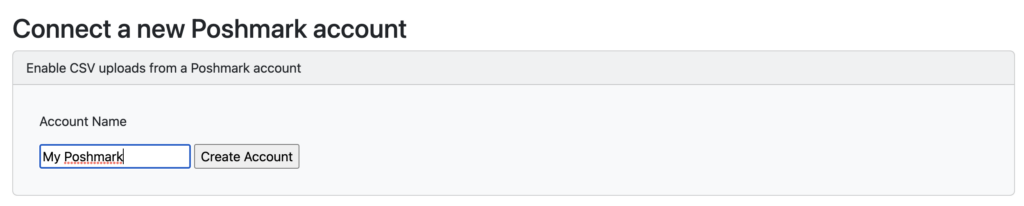
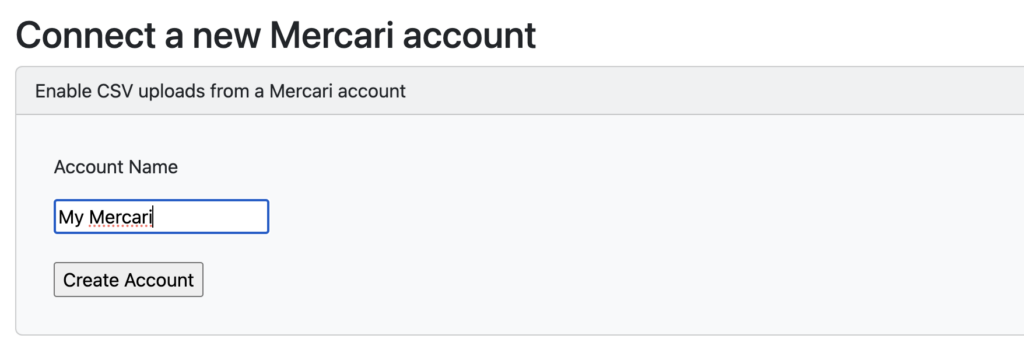
After clicking the Mercari button, enter a name for your new account and click “Create Account”.
Step 3: Upload your Mercari sales report file
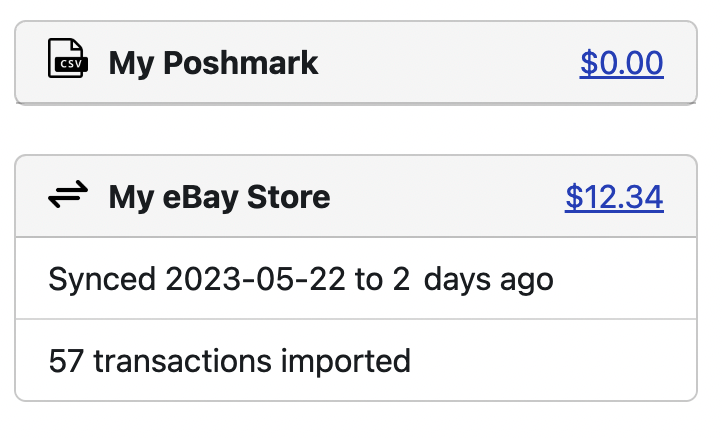
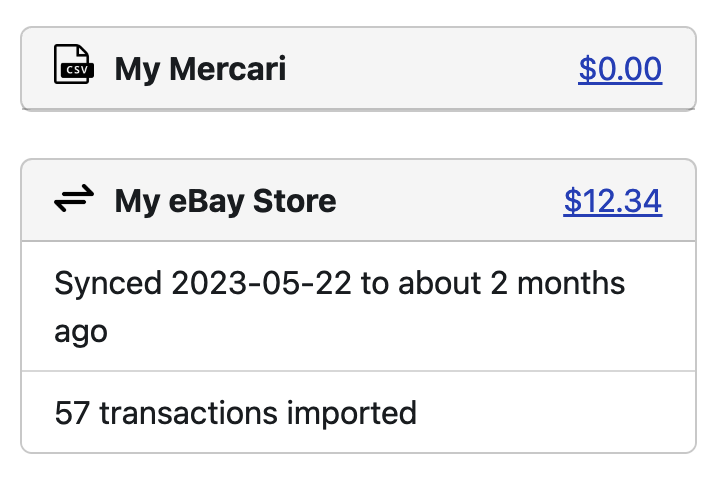
Once you’ve created your new Mercari account, you’ll see it among your list of connected accounts on the Dashboard. Note the icons that differentiate between accounts that automatically connect and those that require CSV files be uploaded.
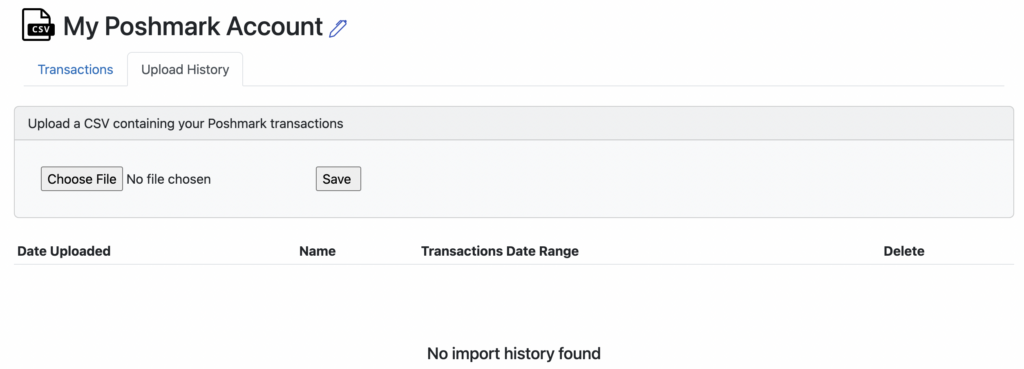
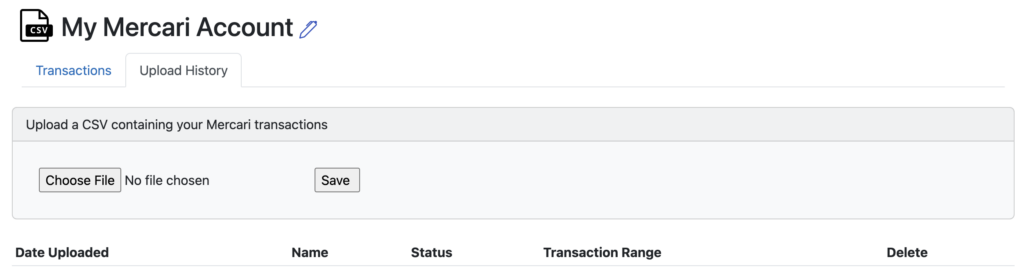
Click into your new Mercari account from the Seller Ledger dashboard and then click the “Import History” tab. Here you will see the option to upload a CSV file. Choose the file you downloaded from Mercari and click “Save.” Your file will be uploaded and your transaction history will be imported into Seller Ledger.
Trial users
If you are still in your trial period, Seller Ledger will only import the last 90 days of transaction history, regardless of how large your Mercari file is.
Step 4: Categorize your Mercari payouts properly
If you have connected a bank account to Seller Ledger, there’s a good chance your Mercari payout totals are showing up there. To ensure that nothing is getting double-counted, make sure to categorize those payouts as transfers. Simply scroll to the bottom of the categories list and find your new account.
Step 5: Remember to regularly update your Mercari sales in Seller Ledger
Because we can’t pull in your new sales and expense information on the daily, you’ll want to make sure to come back every once in a while to upload your latest sales history. How often you choose to do so is your choice. We show the date of the most recent imported transaction on the Seller Ledger dashboard to help remind you.
Lastly, if you make a mistake with any of your uploaded information, it’s not a problem. The “Import History” tab shows you all of the files you’ve uploaded over time, with the ability to simply delete one or more and try again.
We know there are other channels out there that provide CSV files of transaction history. If you would like to see other channels supported, please email us at [email protected] with your interest and, if you’d like to be particularly helpful, a sample of a transaction history file from that channel.
Ready to automate your eCommerce bookkeeping?
Join thousands of sellers who save hours every month with Seller Ledger.
No credit card required