Move off Spreadsheets Even Faster – Upload Expenses and Income via CSV file

Have you been tracking business expenses in a spreadsheet for a while? Does the leap to traditional accounting software feel like more work than it’s worth? Well, no more.
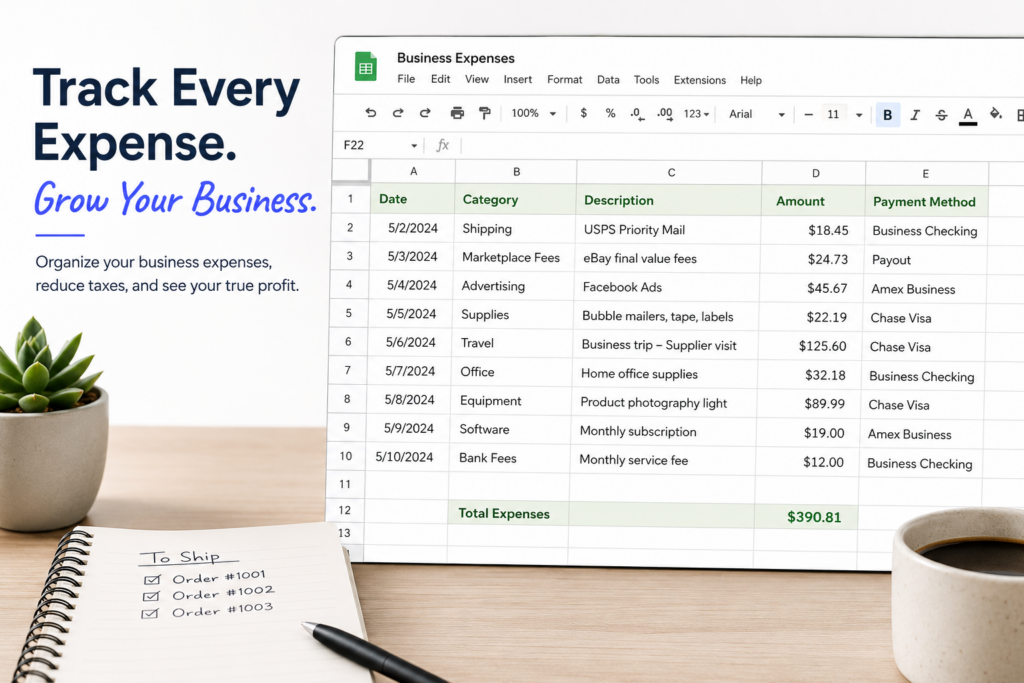
In our never-ending quest to save sellers time, we’ve added the ability to upload expenses (and income transactions, if you so desire) in bulk, using CSV formatted files. Seller Ledger lets you keep all of that hard work and gives you a leg up when you want to try automating your accounting and bookkeeping.

How to upload your expenses

Just go to the Expenses tab, and you will now see a tab that says “Expense Uploads”. This is also where you can find the ability to upload many mileage trips at once.
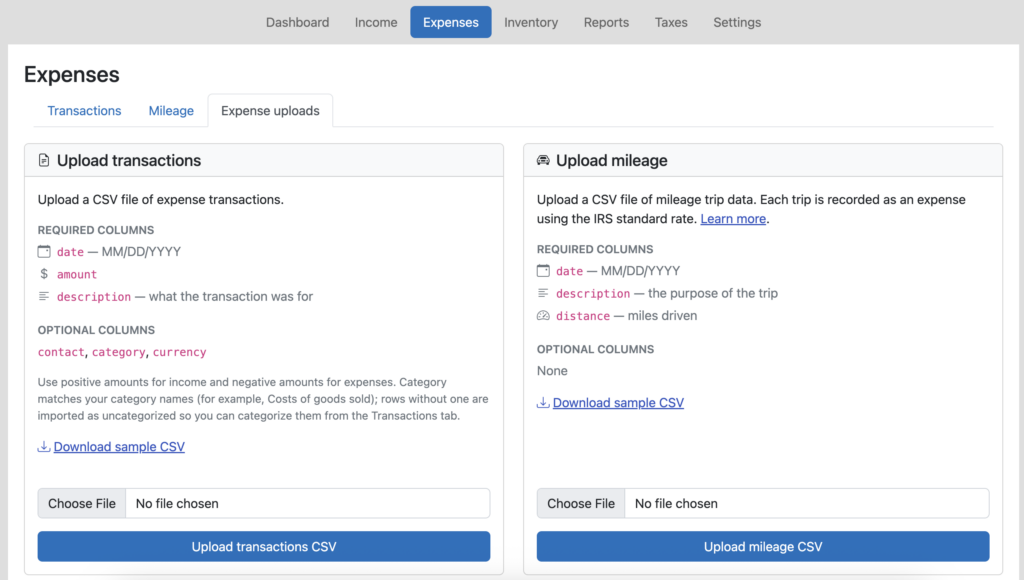
Just follow the formatting guidelines on the screen (or take a look at our sample CSV template) and load your transactions. Plus, as an added bonus, you can include category names in there which, if they are the same as the ones you have in Seller Ledger, will group and total up your expenses and ensure they show up in the correct line of your tax report.

For income transactions, just do the same thing from the Income tab.

Simplify cost of goods sold if you don’t track inventory

If you don’t track inventory, but do have a running list of your cost of goods sold purchases, just include the “category” column and make sure to label those transactions as “Cost of Goods Sold.” Then check out how much more accurate your numbers look, including seeing your overall gross profit.

Stay tuned for more improvements in this general area. And keep sending us your feedback!

Automate Your Depop Accounting

We have had the ability to upload Depop sales history into Seller Ledger for a little while now. However, today we are excited to announce that you can now automate your Depop accounting even further.

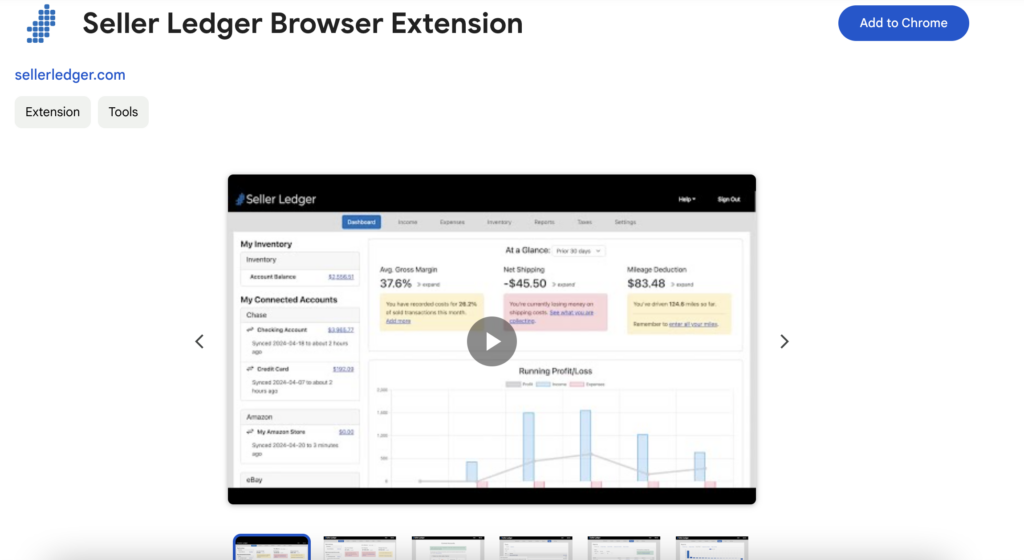
Using the Chrome browser and Seller Ledger’s custom-built Browser Extension, Depop sellers can now get their sales and fee history imported into Seller Ledger on a nightly basis.

Seller Ledger Chrome Extension

How to automate your Depop accounting

In order to fully automate your Depop accounting within Seller Ledger, you only need two things:

1. You should use the Chrome browser when accessing Seller Ledger so that you can also make use of the second tool (below).

2. Once you are using Chrome, you will want to install Seller Ledger’s custom-built Browser Extension. This extension allows Seller Ledger to automatically pull down and import the proper transaction details.

To learn more about how to automate Depop accounting, view this support article.

Once you are properly set up, Seller Ledger will regularly access your Depop account and retrieve the order, coupon, shipping, and fee information.

Import Depop Sales into Seller Ledger

Depop sellers can now import their sales history directly into Seller Ledger, further automating their accounting and tax preparation.

depop-accounting-software

Like with Whatnot and Mercari, who don’t yet offer public APIs, you can download a sales report from Depop and upload it to Seller Ledger. Just follow these steps:

1. Download your sales from Depop

Follow these steps from Depop to get a CSV file of your sales history.

2. Add a Depop account in Seller Ledger

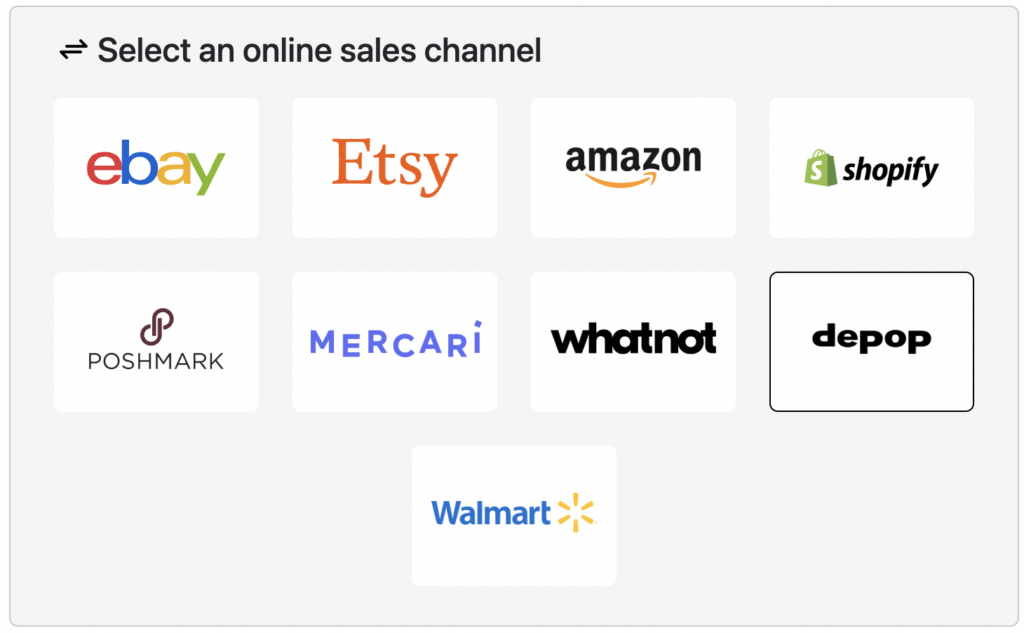
When you click the “Add account” button under Connected Accounts on your Seller Ledger dashboard, you will now see a button for Depop.

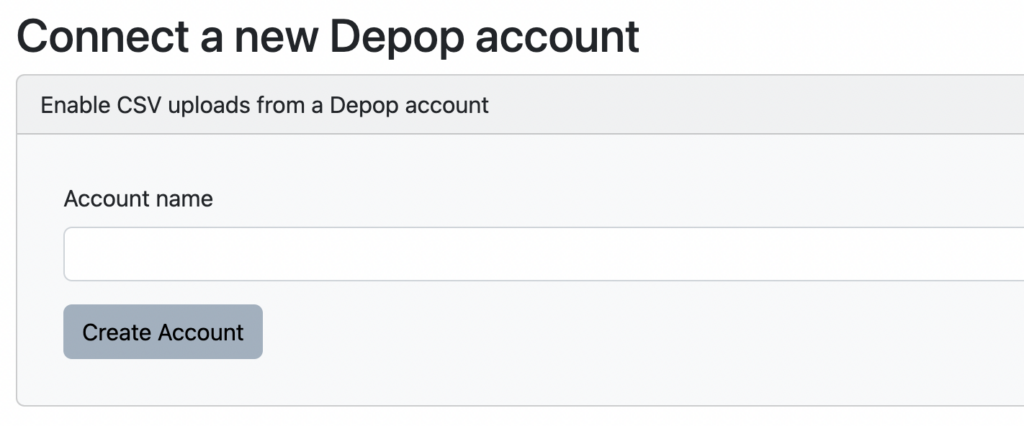
After clicking the Depop button, enter a name for your new account and click “Create Account”.

3. Upload your Depop sales file

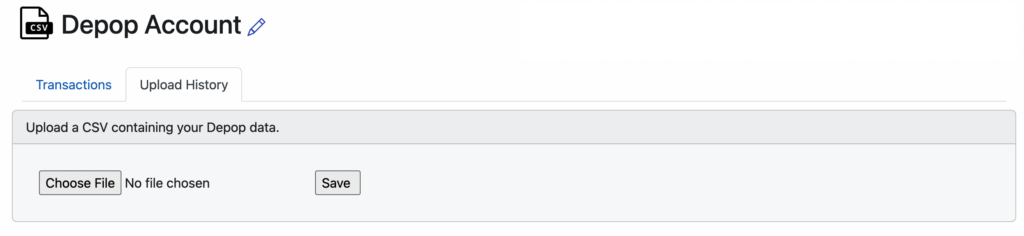
Once you’ve created your new Depop account, you’ll be taken directly into that new account, to a screen that allows you to upload your Depop sales file.

Choose the file you downloaded from Depop and click “Save.” Your file will be uploaded and your transaction history will be imported into Seller Ledger.

Trial users

If you are still in your trial period, Seller Ledger will only import the last 90 days of transaction history, regardless of how large your Depop file is.

4. Categorize your Depop payouts properly

Depop doesn’t provide payout information in their sales files, so we do not have a way to automatically match them to deposits at your bank. If you link your bank account to Seller Ledger, you’ll want to make sure that your payouts from Depop don’t get double-counted. So, when you see your Depop payouts hit your bank account, make sure to categorize them as “Transfer: My Depop Sales” – or whatever you named your Depop account.

5. Remember to regularly update your Depop sales in Seller Ledger

Because we can’t pull in your new sales and expense information on a dailybasis, you’ll want to make sure to come back every once in a while to upload your latest sales history. How often you choose to do so is your choice. We show the date of the most recent imported transaction on the Seller Ledger dashboard to help remind you.

Lastly, if you make a mistake with any of your uploaded information, it’s not a problem. The “Import History” tab shows you all of the files you’ve uploaded over time, with the ability to simply delete one or more and try again.

We know there are other channels out there that provide CSV files of transaction history. If you would like to see other channels supported, please request a new platform or email us at [email protected] with your interest and, if you’d like to be particularly helpful, a sample of a transaction history file from that channel.