Break a large inventory purchase into smaller items

Are you a card trader or someone who buys larger lots of items and breaks them into smaller groupings to sell? If so, we’re excited to announce some new capabilities to Seller Ledger’s inventory tracking. You can now break a larger inventory purchase into smaller items.
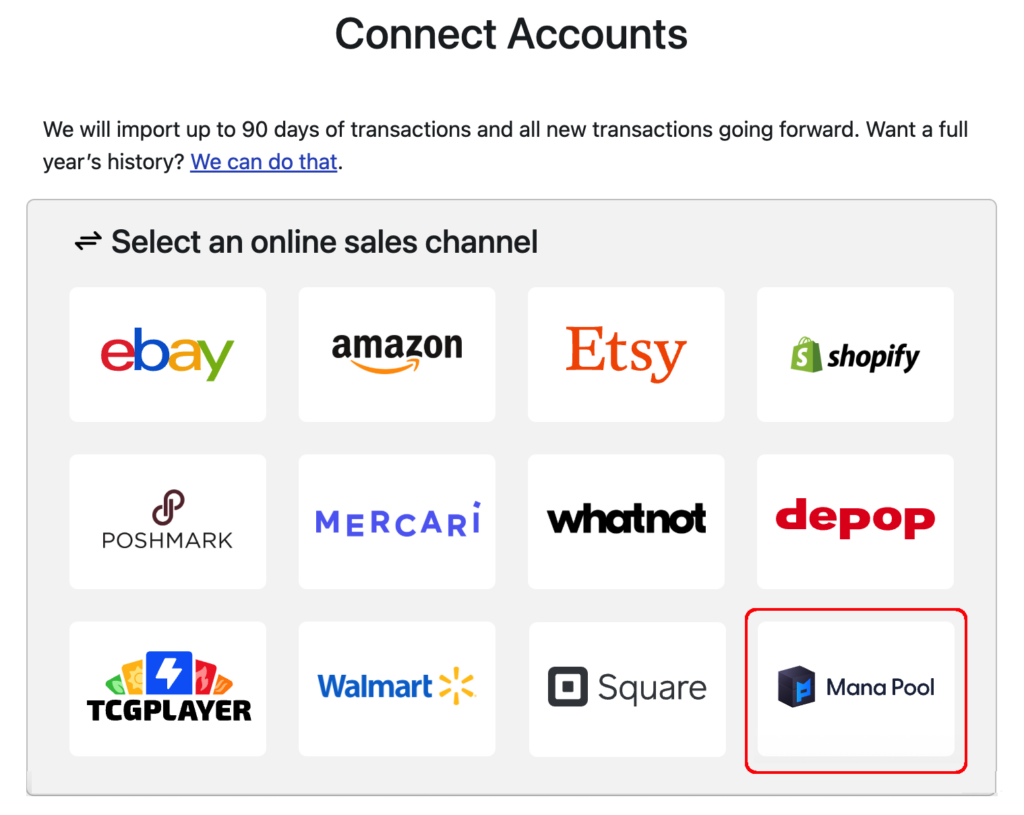
Thanks to all of our sellers on platforms like eBay, Whatnot, TCGplayer, Mana Pool and others for their suggestions.
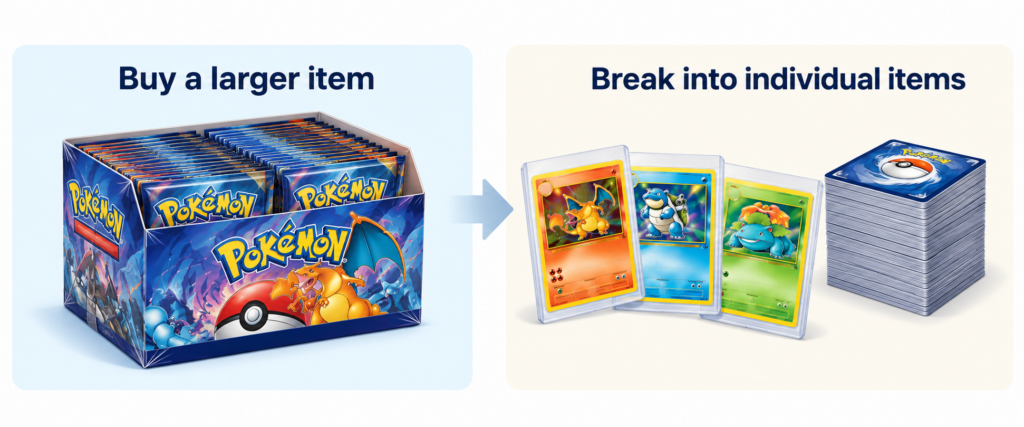
To start, this feature is only available if you are using continuous inventory tracking in Seller Ledger. That’s because you’ll need to track the cost of the original item purchase before you can break it into smaller batches or individual items.
To learn more about how to record your item purchase, please read our support article here.
How do I break one item into many?
Once you’ve recorded your item purchase and loaded the costs for that item, simply go to the Inventory -> Stock page and find that item.
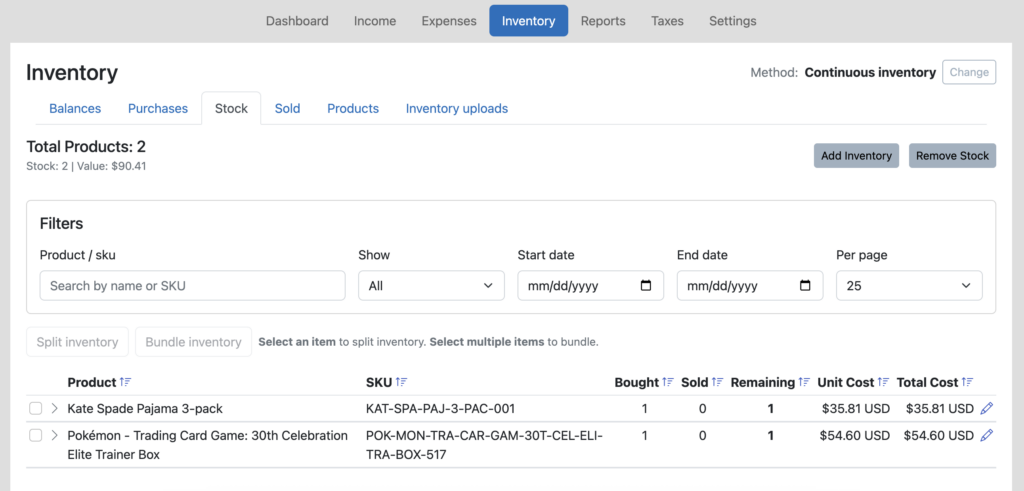
Then, select the item by checking the box in the left column. You will see the “Split Inventory” button change to active. Click that button.

This will bring up a form that looks just like the form to add costs to an individual purchase. But now, you get to record the individual items that you are breaking the larger item into.
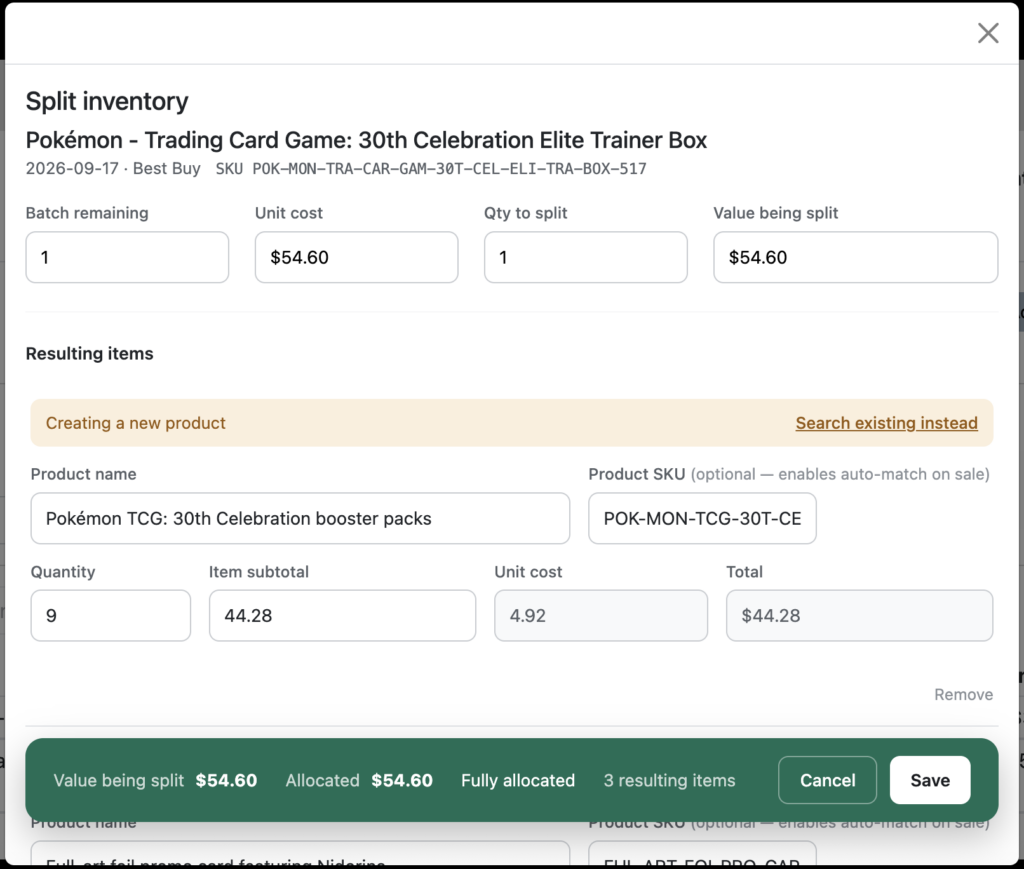
Make sure that the costs of all of the individual items sum up to the original item cost and click Save.
Cost allocation
When choosing the cost of each individual item, you’ll want to research IRS rules on cost allocation, often using fair market value or proportional allocation. Arbitrary cost allocation is discouraged.
You’ll now see, in your Inventory -> Stock view, that the original item is grayed out, but 3 new items have been added to your inventory, with the proper cost allocations.

Tying costs to their sales
If you use unique SKUs for each of the individual items you just created, and include them when you list your items for sale, Seller Ledger will automatically match the sale to these new, individual items using the SKU value, and use the cost of each of those items to update your cost of goods sold and reduce your inventory.
If you forgot to include the SKUs in your listings or otherwise need to match the sold items after-the-fact from Inventory -> Sold, you’ll see these individual items listed when trying match, not the original bigger box.
As with all new features, we welcome any feedback you have.
Ready to automate your eCommerce bookkeeping?
Join thousands of sellers who save hours every month with Seller Ledger.
No credit card required