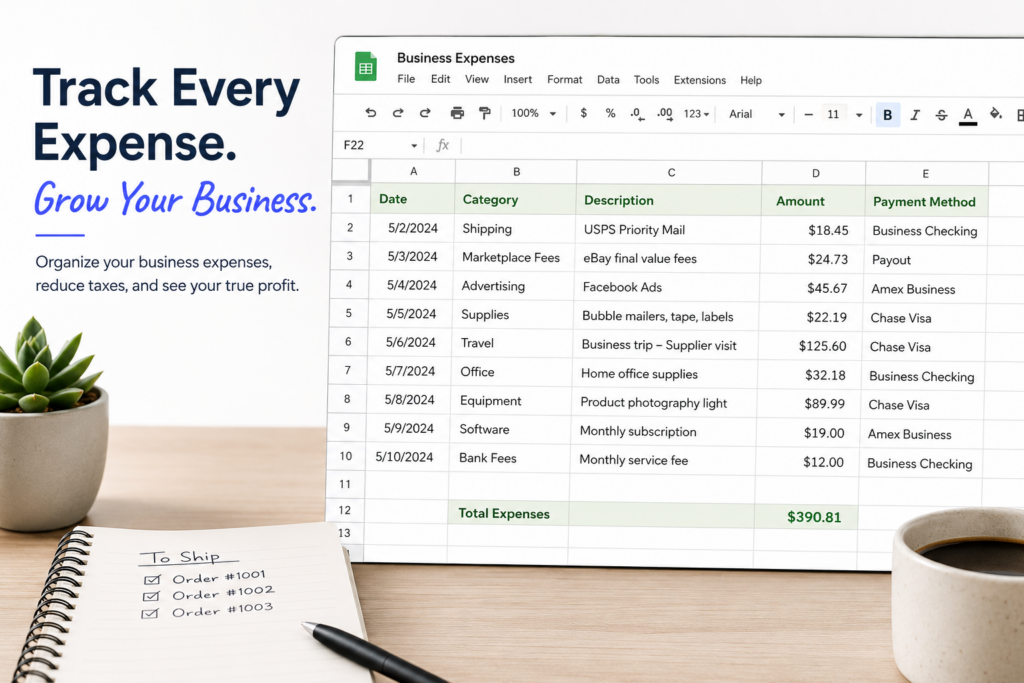
Move off Spreadsheets Even Faster – Upload Expenses and Income via CSV file
Have you been tracking business expenses in a spreadsheet for a while? Does the leap to traditional accounting software feel like more work than it’s worth? Well, no more.
In our never-ending quest to save sellers time, we’ve added the ability to upload expenses (and income transactions, if you so desire) in bulk, using CSV formatted files. Seller Ledger lets you keep all of that hard work and gives you a leg up when you want to try automating your accounting and bookkeeping.
How to upload your expenses
Just go to the Expenses tab, and you will now see a tab that says “Expense Uploads”. This is also where you can find the ability to upload many mileage trips at once.
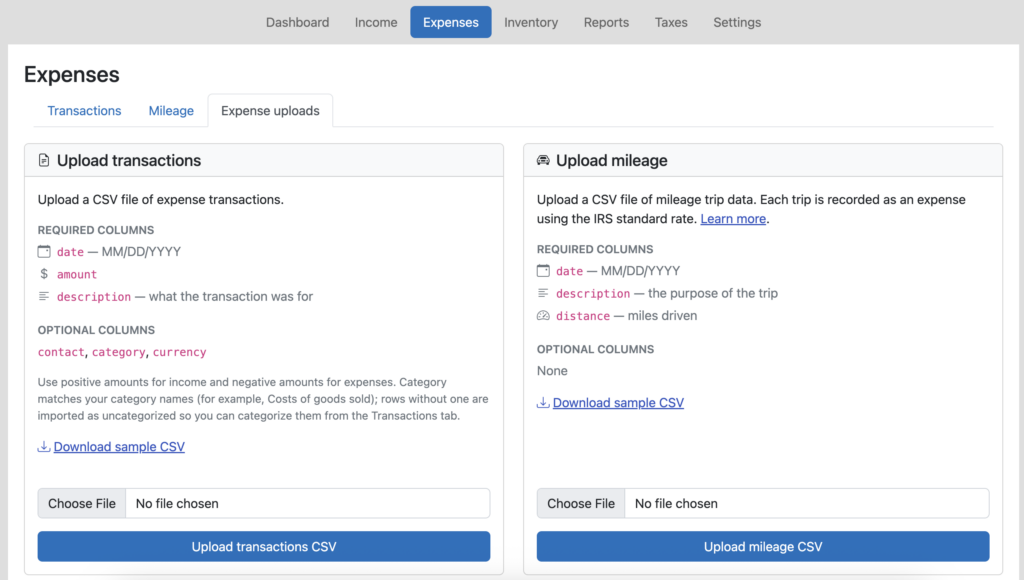
Just follow the formatting guidelines on the screen (or take a look at our sample CSV template) and load your transactions. Plus, as an added bonus, you can include category names in there which, if they are the same as the ones you have in Seller Ledger, will group and total up your expenses and ensure they show up in the correct line of your tax report.
For income transactions, just do the same thing from the Income tab.
Simplify cost of goods sold if you don’t track inventory
If you don’t track inventory, but do have a running list of your cost of goods sold purchases, just include the “category” column and make sure to label those transactions as “Cost of Goods Sold.” Then check out how much more accurate your numbers look, including seeing your overall gross profit.
Stay tuned for more improvements in this general area. And keep sending us your feedback!
Ready to automate your eCommerce bookkeeping?
Join thousands of sellers who save hours every month with Seller Ledger.
No credit card required