Change the categories of Etsy transactions
While we’ve had this functionality around for a while, a recent customer email reminded us that we can always do a better job explaining how things work.
In this case, an Etsy seller wrote in and asked how she can change the category on Etsy ads from the default of “Commissions & fees” to “Advertising. And she’s not the first customer to ask this.
Fortunately, Seller Ledger makes it quit easy to make that change. Simply go to the Settings tab and click the “Customize” sub-tab. If will bring you to a screen that looks like this:
You’ll notice that there are a lot of different Etsy fees, including:
- Generic fees
- Listing fees
- Prolist fees
- Renew fees
- Renew expired fees
- Renew sold auto fees
- Renew sold fees
- Renew auto expired fees
- Payment processing fees
- Offsite ads fees
- Transaction fees
- Shipping transaction fees
- Shipping label insurance fees
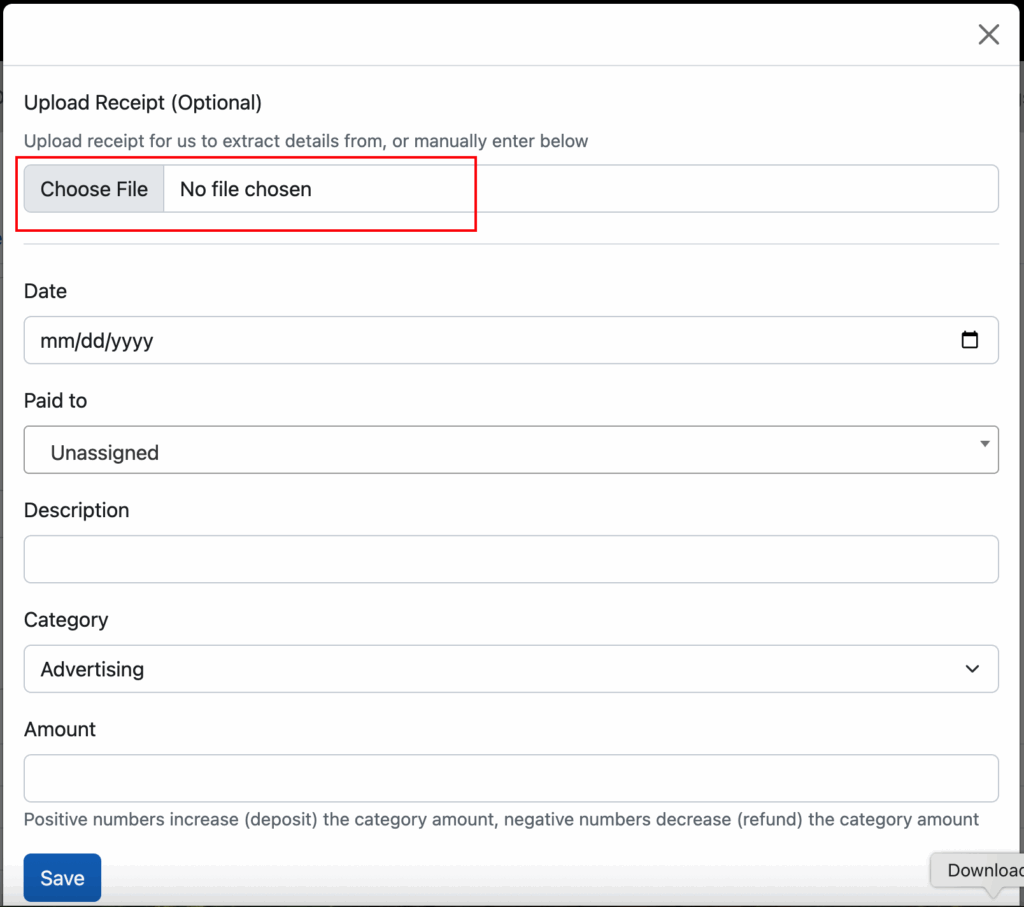
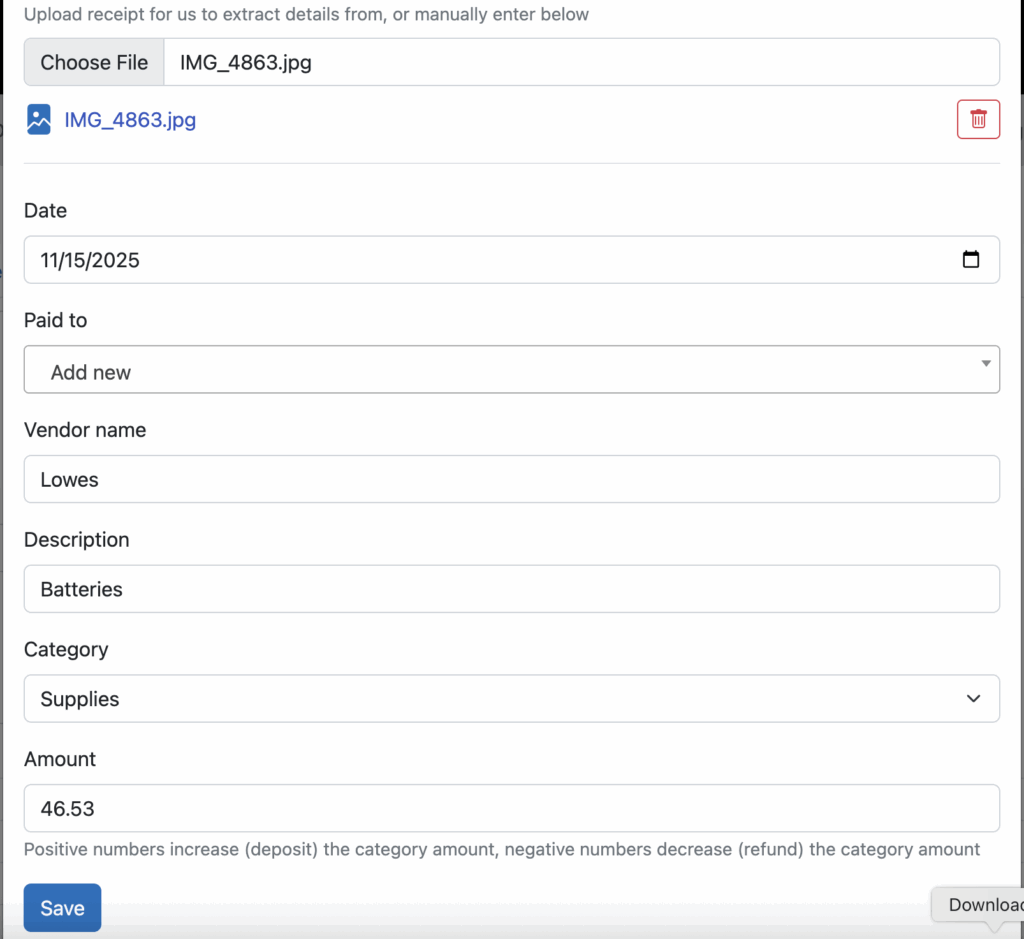
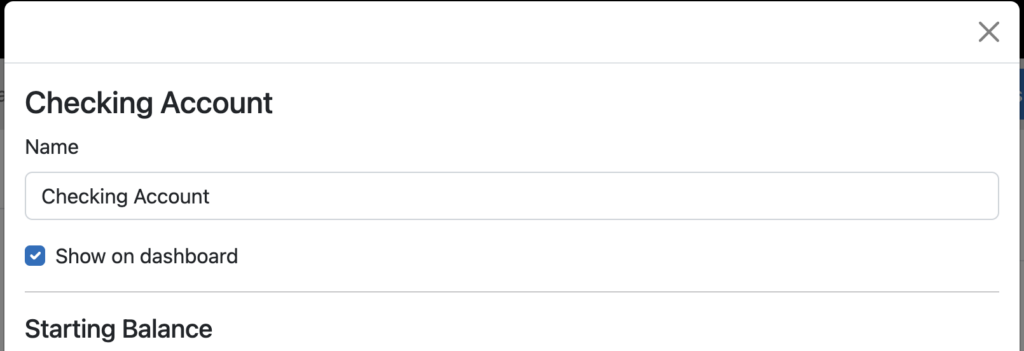
If, as our customer was asking, you wanted to categorize Offsite ad fees as “Advertising”, just click on the edit/pencil icon on the far right to be given this screen:

Then just change the category to “Advertising”, click the “Save” button and you’re all set. Seller Ledger will treat all of these transactions as “Advertising.” This applies not only to all future transactions, but all prior transactions.
What about regular Etsy Ads?
Unfortunately, Etsy does not make the fees for their “on site” ads available through their API. Learn how to handle them here.
Pro tip
You may wish to group some of these Etsy fees into more granular categories. For that, we recommend creating sub-categories, and then mapping these details fees to those sub-categories.