3 Hacks to maximize mileage deductions
In an effort to make sure you write off all legitimate business deductions for your eCommerce business, we though it would be helpful to go a bit deeper on the IRS rules around “Business use of your car” so that you cab maximize mileage deductions.

Mileage deductions are a simple way to reduce your tax burden, and many driving trips for
resellers and online store owners qualify, but it’s so hard to remember to enter them all!
The IRS recommends tracking mileage driven for your business by recording every trip
at the time that you take it. You can include your trips to all of these types of
destinations that might be relevant for you:
- Inventory sourcing trips
- Office supply runs
- Trips to the Post Office, FedEx or UPS to ship your packages
- Trips to reseller meet ups or conferences
- Driving to any in-person training sessions or educational opportunities related to your business
There are two different methods to calculate your mileage deduction, which we explain in more detail below, but either method requires you to track how many miles you drove for business purposes, so you’ll want to be as accurate as possible in capturing these.
But what if you’re already three quarters of the way through the year and you haven’t been tracking all of your miles? Read on for how we’ve seen some sellers capture legitimate business trips they took, even if they might not have been recorded in the moment.
Here are 3 ways we’ve seen sellers maximize their mileage deductions.
Disclaimer
Before proceeding it’s important to mention that we at Seller Ledger are not tax experts and are not trying to provide tax advice. It is critical that you as a reader make your own decisions on how to handle your specific tax situation, which may include hiring a professional.
1. Use a mileage tracking app
Some sellers use mileage tracking apps, such as MileIQ or Everlance, that can help you to keep track of how many miles you’re driving for business purposes versus personal. On the plus side, these apps can save you a lot of time versus manually entering each expense. On the minus side, they can be an additional cost and they don’t help for the time period you weren’t tracking your miles.
2. Mine your other financial records
Wouldn’t it be great if someone could give you a record of each of your driving trips throughout the year even though you forgot to record them at the time?
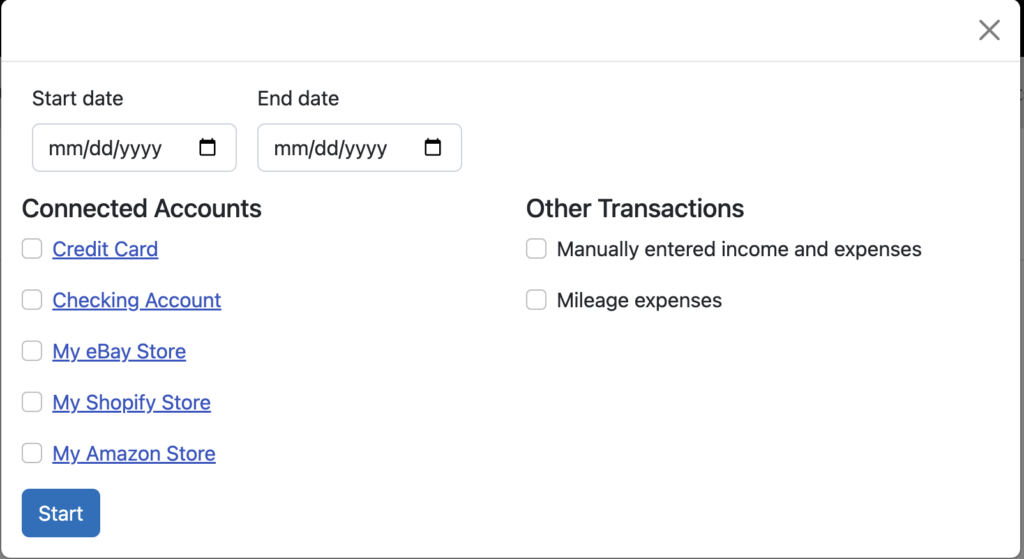
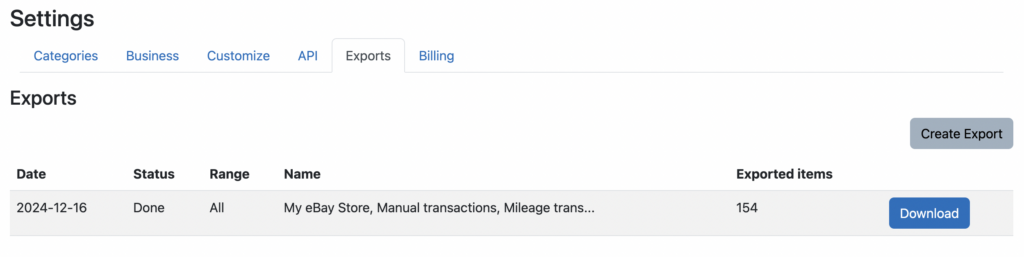
If you’re using Seller Ledger’s automated bookkeeping software to import your business bank and credit card expenses and categorize those expenses, it can get you pretty close. Chances are, you’ve got a record in Seller Ledger of an expense for each of those inventory sourcing trips. Simply go to the Expenses tab, select the “Cost of Goods Sold” category and you’ll have a list of each vendor you bought from and the date of the transaction. We’ve seen sellers create a Mileage Deduction in Seller Ledger for each of those trips where they know they drove to the vendor.
We’ve seen sellers use the same tactic for trips to the Post Office, FedEx or UPS for shipping trips. In your Expense tab, select Category “Shipping Costs” and you’ll see a list of your transactions. Sellers obviously can’t deduct mileage for instances where they purchased a shipping label from eBay or Amazon online to ship a package, and they can’t deduct mileage if the shipper picked product up from their home or office, but each seller knows how their business operates and where legitimate driving trips are included, this is a tactic that has helped other sellers to identify them.
This method works for Office supply runs, Education sessions, or any other vendor/expense where it was needed to drive to for business purposes.
3. Use Google Maps
The Simple Part: We’ve talked with sellers who didn’t know the distance between two locations they traveled to earlier in the year. They simply entered their starting point and the destination in Google Maps, and there they had it – they knew the number of miles traveled.

The More Sophisticated Part: One seller even taught us about the timeline in Google Maps. It’s possible to see your timeline in Google Maps both in the mobile app and on the website. All the places you have searched for throughout your history will come up – you can click the “see more” button to see more locations, revealing the potential destinations from your past. The seller was using this tool to research past trips that might qualify as business trips they could deduct.
They shared another approach in Google Maps which is to click on your profile in the upper right of the mobile app and turn on your location history. With this feature enabled you can see the driving trips that you actually took whether they were today, a week ago, a month ago, etc. and it can include your location history that you actually travelled to. This was another gold mine for the seller in identifying trips they took for business purposes.
Standard Mileage Deduction Rate
In 2025, the current IRS mileage deduction rate is now $0.70 per mile. To use the standard mileage rate method, you can multiply this amount by the number of miles driven for each work trip to calculate your mileage deductions. At the end of the year, the sum of all those mileage deductions can be subtracted from your taxable income so that you pay taxes on a lower amount.
Actual Expense Method
Alternatively, there is another method to deduct driving costs by writing off a percentage of your vehicle costs, the actual expense method. This method takes into account spending on things like car insurance, and vehicle repairs among other vehicle-related costs. To use this method, calculate the number of total miles driven for work during the year. Then note the total miles driven by the vehicle during the year. The number of miles driven for work divided by the total miles is the deduction percentage.
For example, if you drove 2,000 miles for work out of a total of 10,000 miles in a year, then 2,000/10,000 = 20%. Once you know this percentage, you will apply it to the total money spent on the vehicle during the year. If you spent $5,000 on the vehicle that year, then 20% * $5,000 would be $1,000, so you could deduct $1,000 for the year.
Unfortunately, you cannot use both methods to deduct vehicle-related expenses, you must choose one or the other. Most folks choose the simple mileage deduction rate, logging their miles as they go and multiplying by the IRS rate to calculate their total deduction for the year.
Of course every seller’s situation will be unique and we cannot provide tax advice for your unique situation. An accountant can help you to identify and maximize mileage deductions. In addition, here are a couple links from the IRS that might be helpful to you on this topic:
2024 IRS Standard Mileage Rate
IRS Tax Topic 510, Business Use of Car
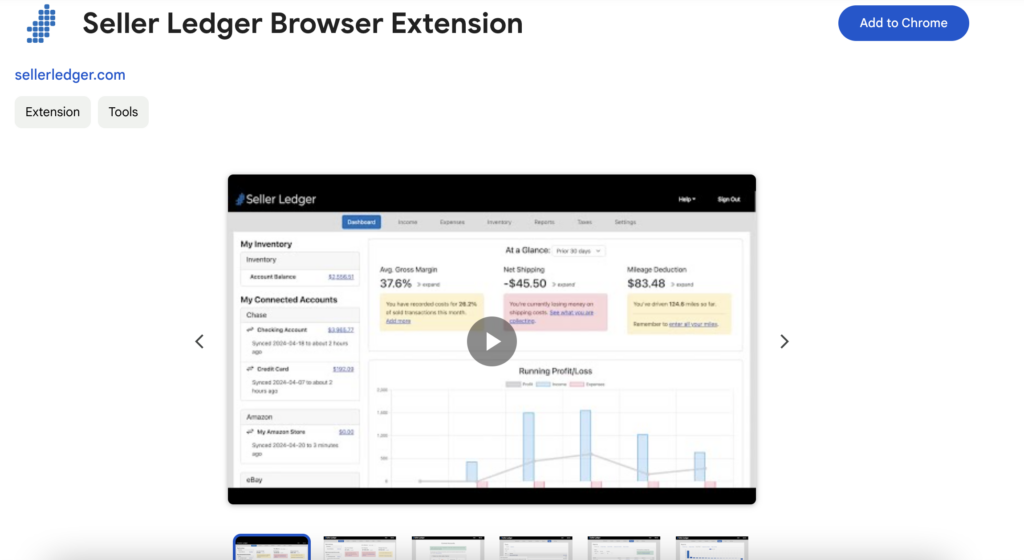
Lastly, if you’re an online seller looking for an easy way to track your business expenses going forward, we recommend giving Seller Ledger a try. Seller Ledger offers a 30 day free trial, with no credit card required, and lots of smart features that learn and remember your vendors, so the more you use it, the faster and easier it gets over time. You can even upload a CSV file of all of your trips.
Seller Ledger was designed to provide the simplest, most automated bookkeeping solution for ecommerce sellers, at an affordable cost. If you sell on eBay, Etsy, Amazon, Walmart, Shopify, Poshmark, Mercari, Whatnot and more, Seller Ledger can automate your bookkeeping and make tax time easy.